How to Make Creamy Cheesecake Perfectly
If you have ever dreamed of creating a dessert that melts in your mouth with a rich, velvety texture, then this Creamy Cheesecake recipe is your ultimate guide. Whether you’re a seasoned baker or a passionate beginner, discover the secret to a smooth, rich Creamy Cheesecake that’s irresistibly perfect every time. This recipe balances simple ingredients and easy techniques to deliver a luscious, award-worthy cheesecake that will wow everyone at your table.
Why You’ll Love This Recipe
- Perfect texture every time: This recipe guarantees a creamy, dense filling without cracks or dryness.
- Simple ingredients: Uses everyday pantry staples that combine to create a luxurious dessert.
- Step-by-step ease: Clear instructions make the baking process approachable and fun.
- Customizable flavor: Easily adapted with your favorite extracts or toppings to suit any occasion.
- Impressive yet approachable: A dessert that looks and tastes elegant but doesn’t require advanced skills.
Ingredients You’ll Need
Every great Creamy Cheesecake starts with a handful of carefully chosen ingredients. Each element plays a vital role in creating the classic taste, smooth texture, and perfect color that define this dessert.
- Cream cheese: The star of the show, softened for a smooth and rich base.
- Sour cream: Adds tang and moisture, enhancing creaminess without weighing it down.
- Granulated sugar: Sweetness that balances tartness and enriches the flavor.
- Large eggs: Provide structure and help set the cheesecake as it bakes.
- Vanilla extract: A splash of pure vanilla elevates the flavor to the next level.
- Graham cracker crumbs: For a buttery, crunchy crust that contrasts beautifully with the creamy filling.
- Melted butter: Binds the crust and adds a rich depth of flavor.
Variations for Creamy Cheesecake
One of the delights of this Creamy Cheesecake recipe is its versatility. Feel free to tailor it to dietary preferences, taste adventures, or seasonal ingredients with these simple variations.
- Fruit swirl: Add raspberry or blueberry puree swirled into the filling before baking for a tangy fruit flavor.
- Chocolate lover’s version: Mix melted chocolate or cocoa powder into the batter for a decadent twist.
- Nutty crust: Swap graham crackers for crushed almonds or pecans to add texture and a nutty aroma.
- Gluten-free option: Use gluten-free cookie crumbs for the crust and enjoy the same creamy result.
- Flavored extracts: Experiment with lemon, almond, or even espresso extracts to personalize your cheesecake’s profile.

How to Make Creamy Cheesecake
Step 1: Prepare the crust
Combine graham cracker crumbs and melted butter in a bowl, pressing the mixture firmly into the bottom of a springform pan to form an even, compact base. Chill in the refrigerator while preparing the filling.
Step 2: Beat the cream cheese
Using a stand mixer or hand mixer, beat softened cream cheese on medium speed until completely smooth with no lumps, ensuring the foundation for that creamy texture.
Step 3: Add sugar and sour cream
Gradually add granulated sugar and sour cream to the cream cheese, mixing on low until fully combined. This blend contributes to the cheesecake’s moist and smooth consistency.
Step 4: Incorporate eggs and vanilla
Add eggs one at a time, blending gently after each addition to maintain air and avoid overmixing, which could lead to cracks. Lastly, stir in vanilla extract for flavor depth.
Step 5: Bake the cheesecake
Pour the filling over the chilled crust and place in a preheated oven. Bake at a moderate temperature in a water bath or with a pan of water nearby to create steam, which prevents the cheesecake from drying out.
Step 6: Cool and chill
Once baked, let the cheesecake cool gradually at room temperature before refrigerating for several hours or overnight to let the flavors meld and the texture firm up beautifully.
Pro Tips for Making Creamy Cheesecake
- Room temperature ingredients: Always bring cream cheese, eggs, and sour cream to room temperature to avoid lumps and ensure smooth batter.
- Don’t overmix: Mix just until combined to prevent extra air bubbles that can cause cracks.
- Water bath baking: Use a water bath to maintain consistent moisture and bake evenly.
- Use springform pans: They allow easy removal without damaging the delicate cheesecake edges.
- Chill well: Refrigerate overnight for the best texture and flavor balance.
How to Serve Creamy Cheesecake
Garnishes
Top your creamy cheesecake with fresh seasonal berries, a dusting of powdered sugar, or a drizzle of warm caramel or chocolate sauce to enhance both appearance and taste. Whipped cream also makes a light, complementary addition.
Side Dishes
Pair this dessert with light, refreshing sides like fresh fruit salad or a scoop of tangy sorbet to balance the richness and end your meal on a vibrant note.
Creative Ways to Present
Serve individual mini cheesecakes by baking in muffin tins or use edible flowers and finely chopped nuts sprinkled over the top for a stunning, gourmet look that wows guests instantly.
Make Ahead and Storage
Storing Leftovers
Place leftover Creamy Cheesecake in an airtight container and refrigerate for up to 5 days to preserve freshness and maintain texture.
Freezing
Wrap cheesecake tightly with plastic wrap and aluminum foil, then freeze for up to 2 months. Thaw overnight in the refrigerator before serving to keep the creamy texture intact.
Reheating
Generally served chilled, but if you prefer room temperature, leave the cheesecake out for 15–30 minutes before enjoying. Avoid microwaving as this can ruin the texture.
FAQs
Can I use low-fat cream cheese for this recipe?
Low-fat options can be used, but they may impact the richness and texture; full-fat cream cheese is best for that classic creamy cheesecake experience.
How do I prevent cracks on the cheesecake surface?
Baking in a water bath, avoiding overmixing, and cooling gradually all help prevent cracks and create a smooth top.
Can I make this cheesecake vegan or dairy-free?
Yes, by replacing cream cheese and sour cream with plant-based alternatives and using a suitable crust option, but texture and flavor may differ slightly.
Is it necessary to use a springform pan?
While not absolutely required, a springform pan makes removing the cheesecake much easier and helps maintain its shape.
How long should I chill the cheesecake before serving?
For best results, chill the cheesecake for at least 4 hours, preferably overnight, to let it set perfectly and develop flavor.
Final Thoughts
There’s something truly magical about making a homemade Creamy Cheesecake that is both decadent and inviting. With simple ingredients and easy steps, this recipe is the perfect way to treat yourself and impress your loved ones. Once you master these techniques, the possibilities for creative twists and personalized flavors are endless. So grab your mixing bowl and get ready to enjoy the smoothest, richest cheesecake you’ve ever made!
Related Posts
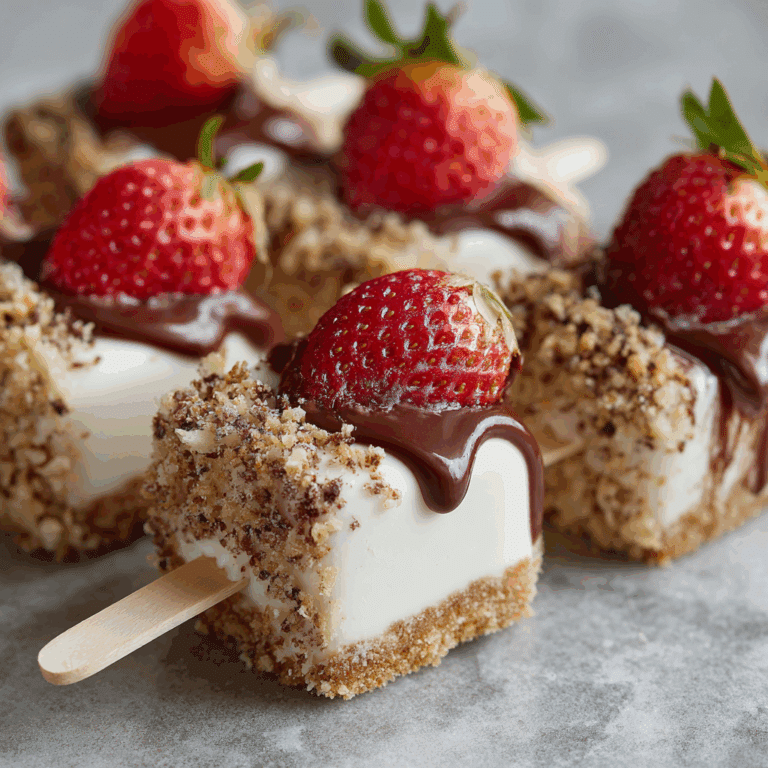
- Why Fried Strawberry Cheesecake Sandwiches Delight
- Creamy Chocolate Avocado Mousse to Try Today
- How to Make a Traditional King Cake Recipe
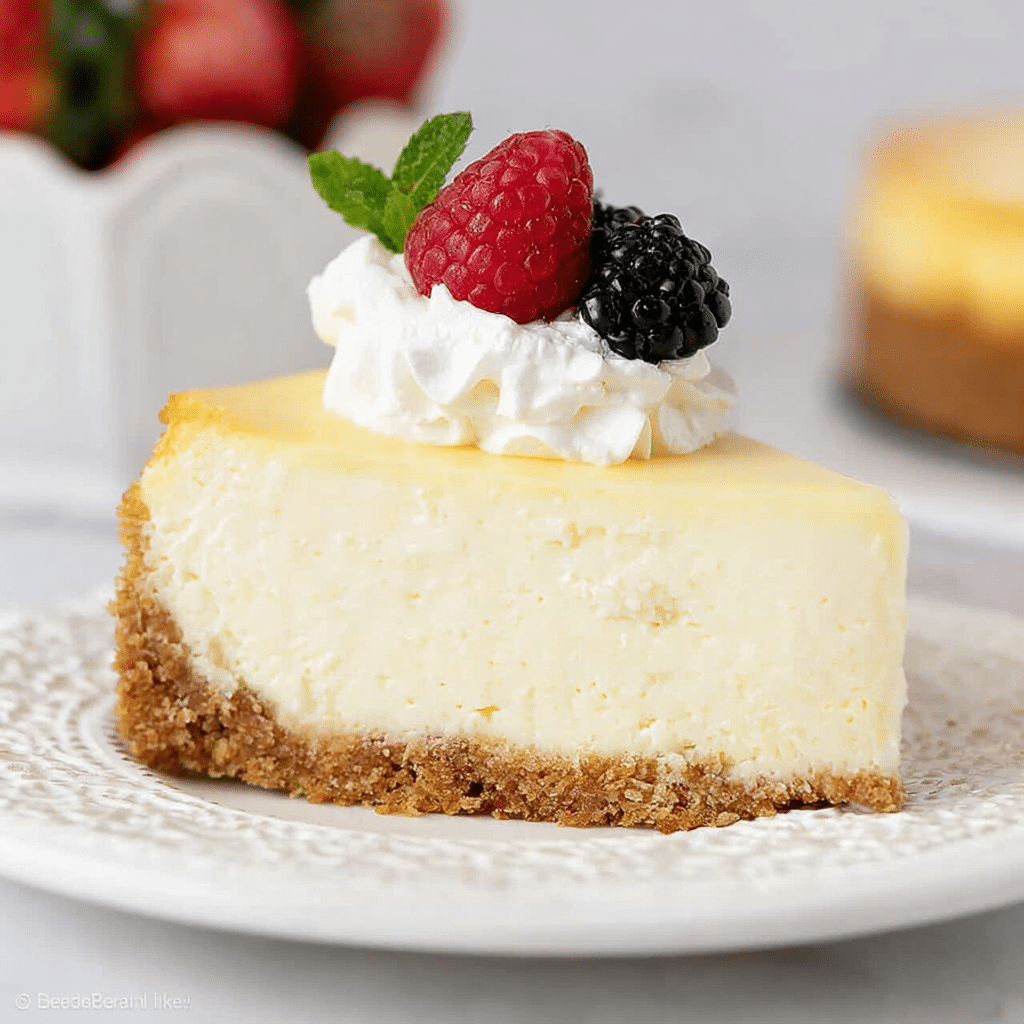
Creamy Cheesecake

This Creamy Cheesecake recipe delivers a rich, smooth, and velvety dessert with a perfectly dense filling and a buttery crunchy crust. Using simple pantry ingredients and straightforward steps, it creates an elegant dessert ideal for both beginners and experienced bakers. Its adaptable flavor profile and foolproof techniques ensure a crack-free, luscious cheesecake every time.
- Prep Time: 20 minutes
- Cook Time: 1 hour 10 minutes
- Total Time: 5 hours 30 minutes
- Yield: 12 servings 1x
- Category: Dessert
- Method: Baking
- Cuisine: American
- Diet: Gluten Free (if using gluten-free graham cracker crumbs)
Ingredients
Crust
- 1 1/2 cups graham cracker crumbs
- 6 tablespoons melted butter
Filling
- 24 oz (3 packages) cream cheese, softened
- 1 cup sour cream, room temperature
- 1 cup granulated sugar
- 3 large eggs, room temperature
- 2 teaspoons vanilla extract
Instructions
- Prepare the crust: Combine graham cracker crumbs and melted butter in a bowl, pressing the mixture firmly into the bottom of a springform pan to form an even, compact base. Chill in the refrigerator while preparing the filling.
- Beat the cream cheese: Using a stand mixer or hand mixer, beat softened cream cheese on medium speed until completely smooth with no lumps, ensuring a creamy foundation.
- Add sugar and sour cream: Gradually add granulated sugar and sour cream to the cream cheese, mixing on low until fully combined for a moist and smooth consistency.
- Incorporate eggs and vanilla: Add eggs one at a time, blending gently after each addition to maintain air and avoid overmixing. Finally, stir in vanilla extract to elevate the flavor.
- Bake the cheesecake: Pour the filling over the chilled crust and place in a preheated oven at 325°F (163°C). Bake using a water bath or with a pan of water nearby to create steam, preventing the cheesecake from drying out, for about 60 to 70 minutes until set but slightly jiggly in the center.
- Cool and chill: Let the cheesecake cool gradually at room temperature, then refrigerate for at least 4 hours or overnight to firm up the texture and blend the flavors perfectly.
Notes
- Bring cream cheese, eggs, and sour cream to room temperature before starting to avoid lumps.
- Mix just until combined to prevent air bubbles and cracks.
- Using a water bath helps maintain moisture and bake the cheesecake evenly.
- Use a springform pan for easy cheesecake removal and neat edges.
- Chilling overnight yields the best texture and flavor development.
Nutrition
- Serving Size: 1 slice (1/12th of cheesecake)
- Calories: 420
- Sugar: 28g
- Sodium: 310mg
- Fat: 32g
- Saturated Fat: 19g
- Unsaturated Fat: 10g
- Trans Fat: 0.5g
- Carbohydrates: 28g
- Fiber: 1g
- Protein: 7g
- Cholesterol: 110mg
Keywords: creamy cheesecake, classic cheesecake, rich dessert, smooth cheesecake, easy cheesecake recipe, gluten-free cheesecake option